
Struggling to fit an entire picture on Instagram without cropping out important details? You’re not alone.
Instagram’s square format often cuts off parts of your favorite photos, leaving you frustrated and your content less impactful. But what if you could share your whole image exactly as it is—clear, complete, and eye-catching? In this post, you’ll discover simple and effective tricks to make your pictures fit perfectly on Instagram.
Keep reading, and you’ll learn how to showcase your photos the way you want, grabbing attention and boosting your profile’s appeal.

Credit: www.youtube.com
Choosing The Right Image
Choosing the right image is key to fitting a whole picture on Instagram. The correct photo makes your post clear and attractive. It helps keep details visible and avoids unwanted cropping. Quality matters. The image should look good on any device. Think about what your audience will see first. The right picture tells your story well and keeps viewers interested.
Selecting High-resolution Photos
High-resolution photos have more pixels and better clarity. They show details sharply, even after resizing. Instagram compresses images, which can lower quality. Starting with a high-resolution photo keeps your image clear. Avoid blurry or pixelated pictures. Use photos with at least 1080 pixels wide for best results. A sharp photo looks professional and grabs attention.
Consider Aspect Ratios
Aspect ratio is the width to height ratio of a photo. Instagram supports several ratios but works best with certain ones. Common ratios are 1:1 (square), 4:5 (portrait), and 16:9 (landscape). Choosing the right aspect ratio prevents parts of your photo from being cut off. It also fits Instagram’s frame properly. Use cropping tools to adjust your photo to these ratios. Keep important parts of the image centered to avoid losing them.

Credit: apps.apple.com
Using Instagram’s Built-in Tools
Instagram’s built-in tools offer a straightforward way to fit a whole picture into your post without needing extra apps. These features help you resize and adjust your image directly within the app, saving you time and keeping your workflow simple.
Adjusting Image Size
When you upload a photo, Instagram automatically crops it to fit a square format by default. But did you know you can adjust the size to show the entire image?
Tap the expand icon (two arrows pointing outward) in the bottom left corner of your photo. This action resizes your picture to fit within Instagram’s frame without cutting off important parts.
This feature works well if your image is slightly rectangular or if you want to avoid losing any details. It’s quick and easy, so try toggling this option before posting.
Utilizing Zoom And Crop Features
Instagram also lets you zoom and crop your photo after selecting it. Pinch your fingers on the screen to zoom in or out and drag the image to reposition it within the frame.
This control gives you the power to highlight specific parts of your image or adjust the composition without external tools. Sometimes, a small shift in positioning can make a big difference in how your photo looks.
Ask yourself: What part of the picture do you want your followers to focus on? Use the zoom and crop tools to guide their attention right where you want it.
Third-party Apps For Image Resizing
Third-party apps offer easy solutions to resize images for Instagram. These apps help fit the whole picture without cutting important parts. They provide tools to adjust dimensions, add borders, and maintain image quality. Using them saves time and improves your Instagram posts’ appearance.
Popular Apps For Instagram Image Editing
- InShot: Simple interface with resizing and cropping tools.
- Canva: Offers templates and easy image adjustments.
- Preview: Designed for Instagram planning and image editing.
- PhotoResizer: Focused on quick resizing with preset options.
- Square Fit: Adds borders to make images fit Instagram squares.
Step-by-step Guide For Using Apps
Open your chosen app and upload the photo you want to resize.
Select the Instagram format or set custom dimensions (usually 1080×1080 pixels).
Adjust the image by zooming or moving it within the frame.
Add borders or background colors if needed to fill empty spaces.
Preview the resized image to ensure no details are lost.
Save the edited photo to your device for posting on Instagram.
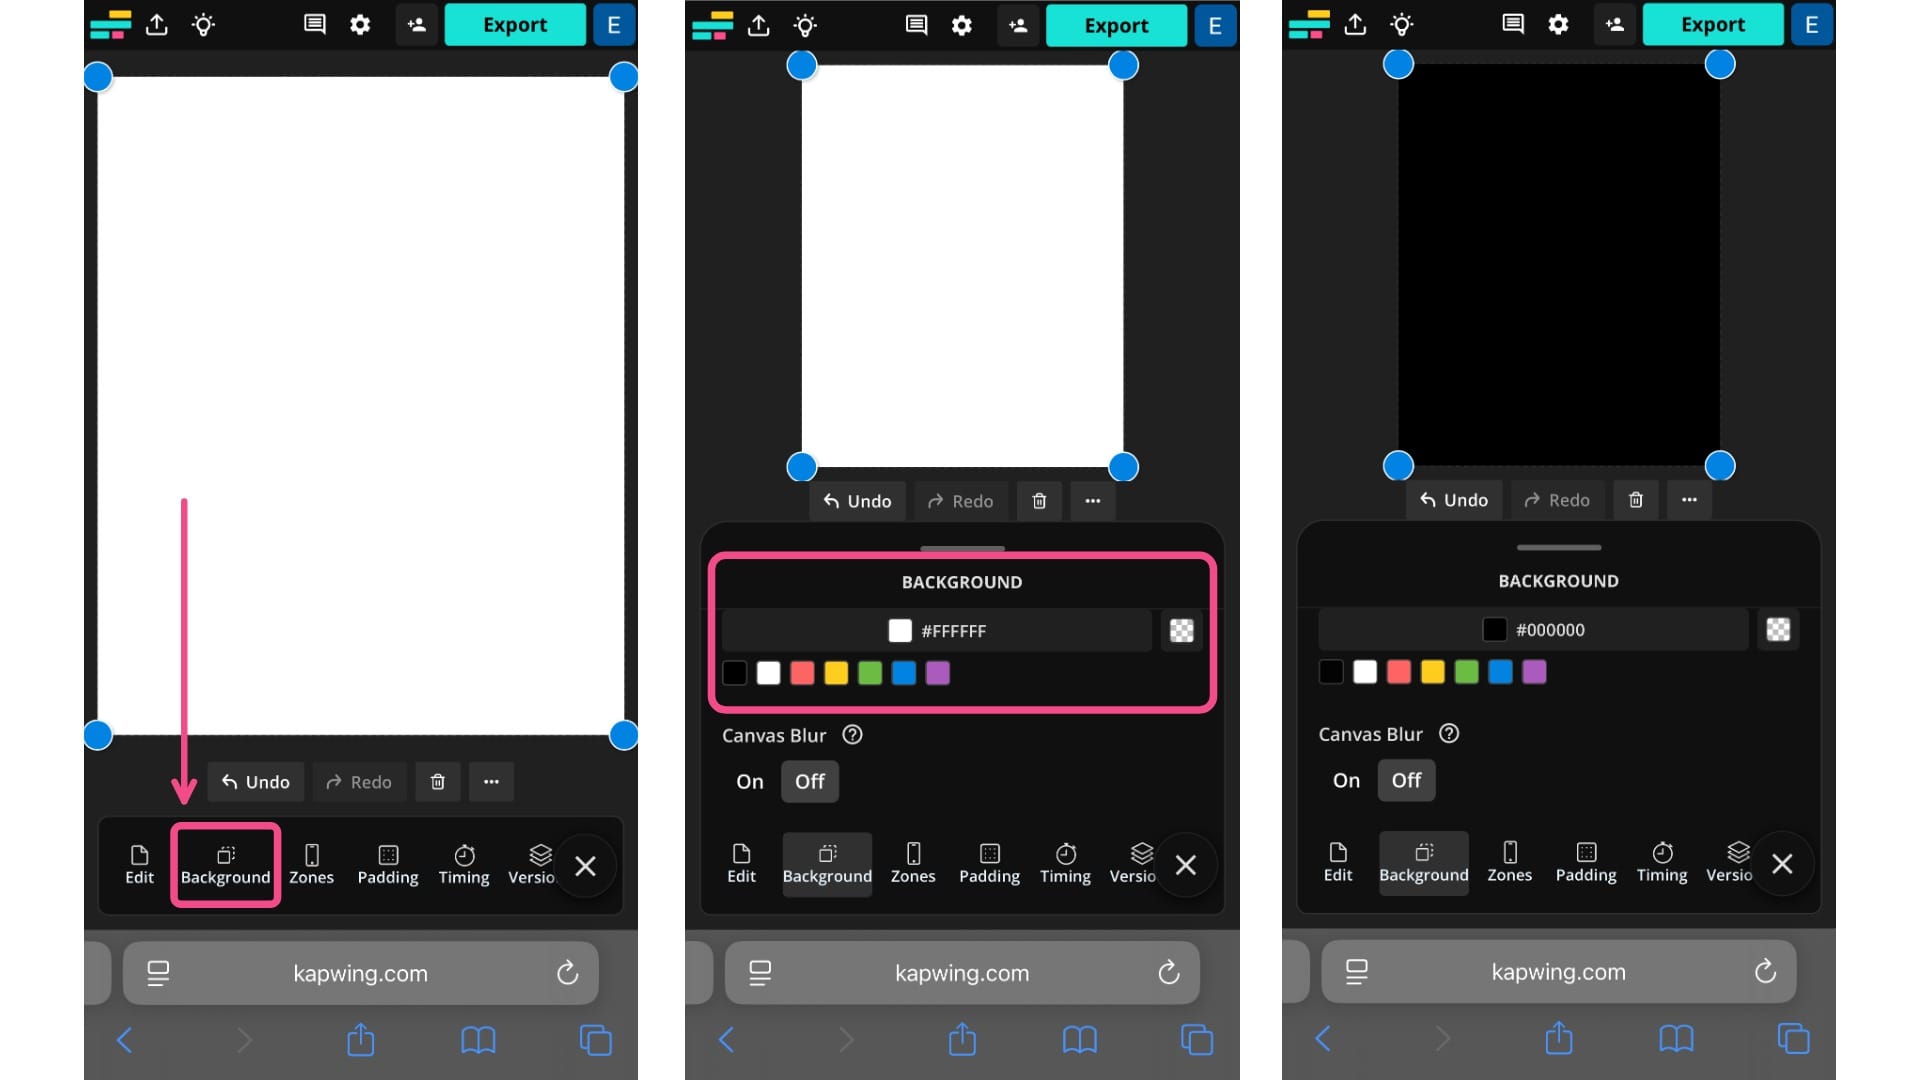
Credit: www.kapwing.com
Creative Techniques For Full Images
Fitting a whole picture on Instagram can be tricky due to size limits. Creative techniques help display full images without cutting important parts. These methods keep your photo clear and attractive.
Using Borders And Frames
Adding borders or frames around your photo keeps the entire image visible. This method places your picture inside a canvas, so Instagram doesn’t crop it. Borders can be plain colors or patterns that match your photo style.
Use apps or editing tools to add these frames easily. Choose border sizes that balance the image and background. This technique works well for portraits, landscapes, and artwork.
Collage And Grid Options
Collages combine multiple photos into one post, showing parts of a bigger picture. You can split a large photo into smaller squares and upload them as a grid. This way, viewers see the whole image by scrolling through your posts.
Many apps help create grids or collages. They let you adjust spacing and layout. This technique is perfect for panoramic views or detailed photos that need more space.
Maintaining Image Quality
Maintaining the quality of your image is crucial when fitting a whole picture on Instagram. Poor image quality can make your carefully chosen photo look unprofessional and less appealing. Keeping your images crisp and clear ensures that your audience stays engaged and appreciates your content.
Avoiding Pixelation
Pixelation happens when your image is stretched beyond its original resolution. This often occurs if you enlarge a small image or save it in a low-quality format. To avoid this, always start with the highest resolution possible.
Try to resize your image using software that preserves quality, like Adobe Photoshop or free tools such as GIMP. Avoid zooming in directly on your phone or Instagram’s editing tools, as these can degrade the image. Remember, sharper images grab attention faster—would you stop scrolling for a blurry photo?
Choosing The Right Format
The file format you choose plays a big role in how your image looks on Instagram. JPEG is the most common format and works well for photos, but it compresses images and may reduce quality. PNG, on the other hand, keeps details sharp and supports transparency but results in larger file sizes.
Think about your image type before saving. For photos with lots of colors and gradients, JPEG at high quality settings works best. For images with text, logos, or sharp edges, PNG preserves clarity better. Experiment with both formats to see which one makes your picture shine on your feed.
Posting Tips For Engagement
Posting pictures on Instagram is more than just sharing images. It involves engaging your audience to increase visibility and interaction. Good posts invite comments, likes, and shares. Here are tips to make your posts stand out and connect with people.
Crafting Captivating Captions
Captions tell the story behind your picture. They add meaning and create a bond with your viewers. Use simple words and short sentences to keep readers interested.
- Ask questions to encourage responses.
- Share a quick fact or story related to the image.
- Use a friendly and natural tone.
- Include a call to action, like “Tell us what you think.”
Using Hashtags Effectively
Hashtags help new followers find your posts. Use them wisely to reach the right audience. Avoid using too many hashtags, as it looks spammy.
- Choose hashtags that match your picture’s theme.
- Mix popular and niche hashtags for better reach.
- Keep hashtags relevant and specific.
- Limit hashtags to about 5-10 per post.
Frequently Asked Questions
How Can I Post A Full Picture On Instagram?
To post a full picture, use Instagram’s native crop tool or third-party apps. These apps split images into multiple posts, preserving the full picture without cropping important parts.
What Apps Help Fit Entire Images On Instagram?
Apps like “Grid Post,” “PhotoSplit,” and “Panorama Crop” help split images. They allow you to post large photos as multiple tiles, creating a seamless full-picture effect on your Instagram grid.
Does Instagram Support Full Panorama Photos?
Instagram does not support full panorama photos in one post. You can post panoramas by splitting them into parts or using Instagram Stories, which allow wider photo displays.
How To Avoid Cropping When Uploading Photos On Instagram?
Avoid cropping by resizing images to Instagram’s recommended aspect ratios: 1:1, 4:5, or 16:9. Use editing tools or apps to adjust the photo size before posting.
Conclusion
Fitting a whole picture on Instagram is easier than it seems. Use simple tools and follow clear steps. Crop or resize your photo to keep the full image visible. Try grid posts or third-party apps for better results. This way, your pictures look neat and complete.
Enjoy sharing your photos without losing any part. Practice these tips to improve your Instagram feed. Keep your photos clear and engaging for your audience. It makes your profile more attractive and fun.


