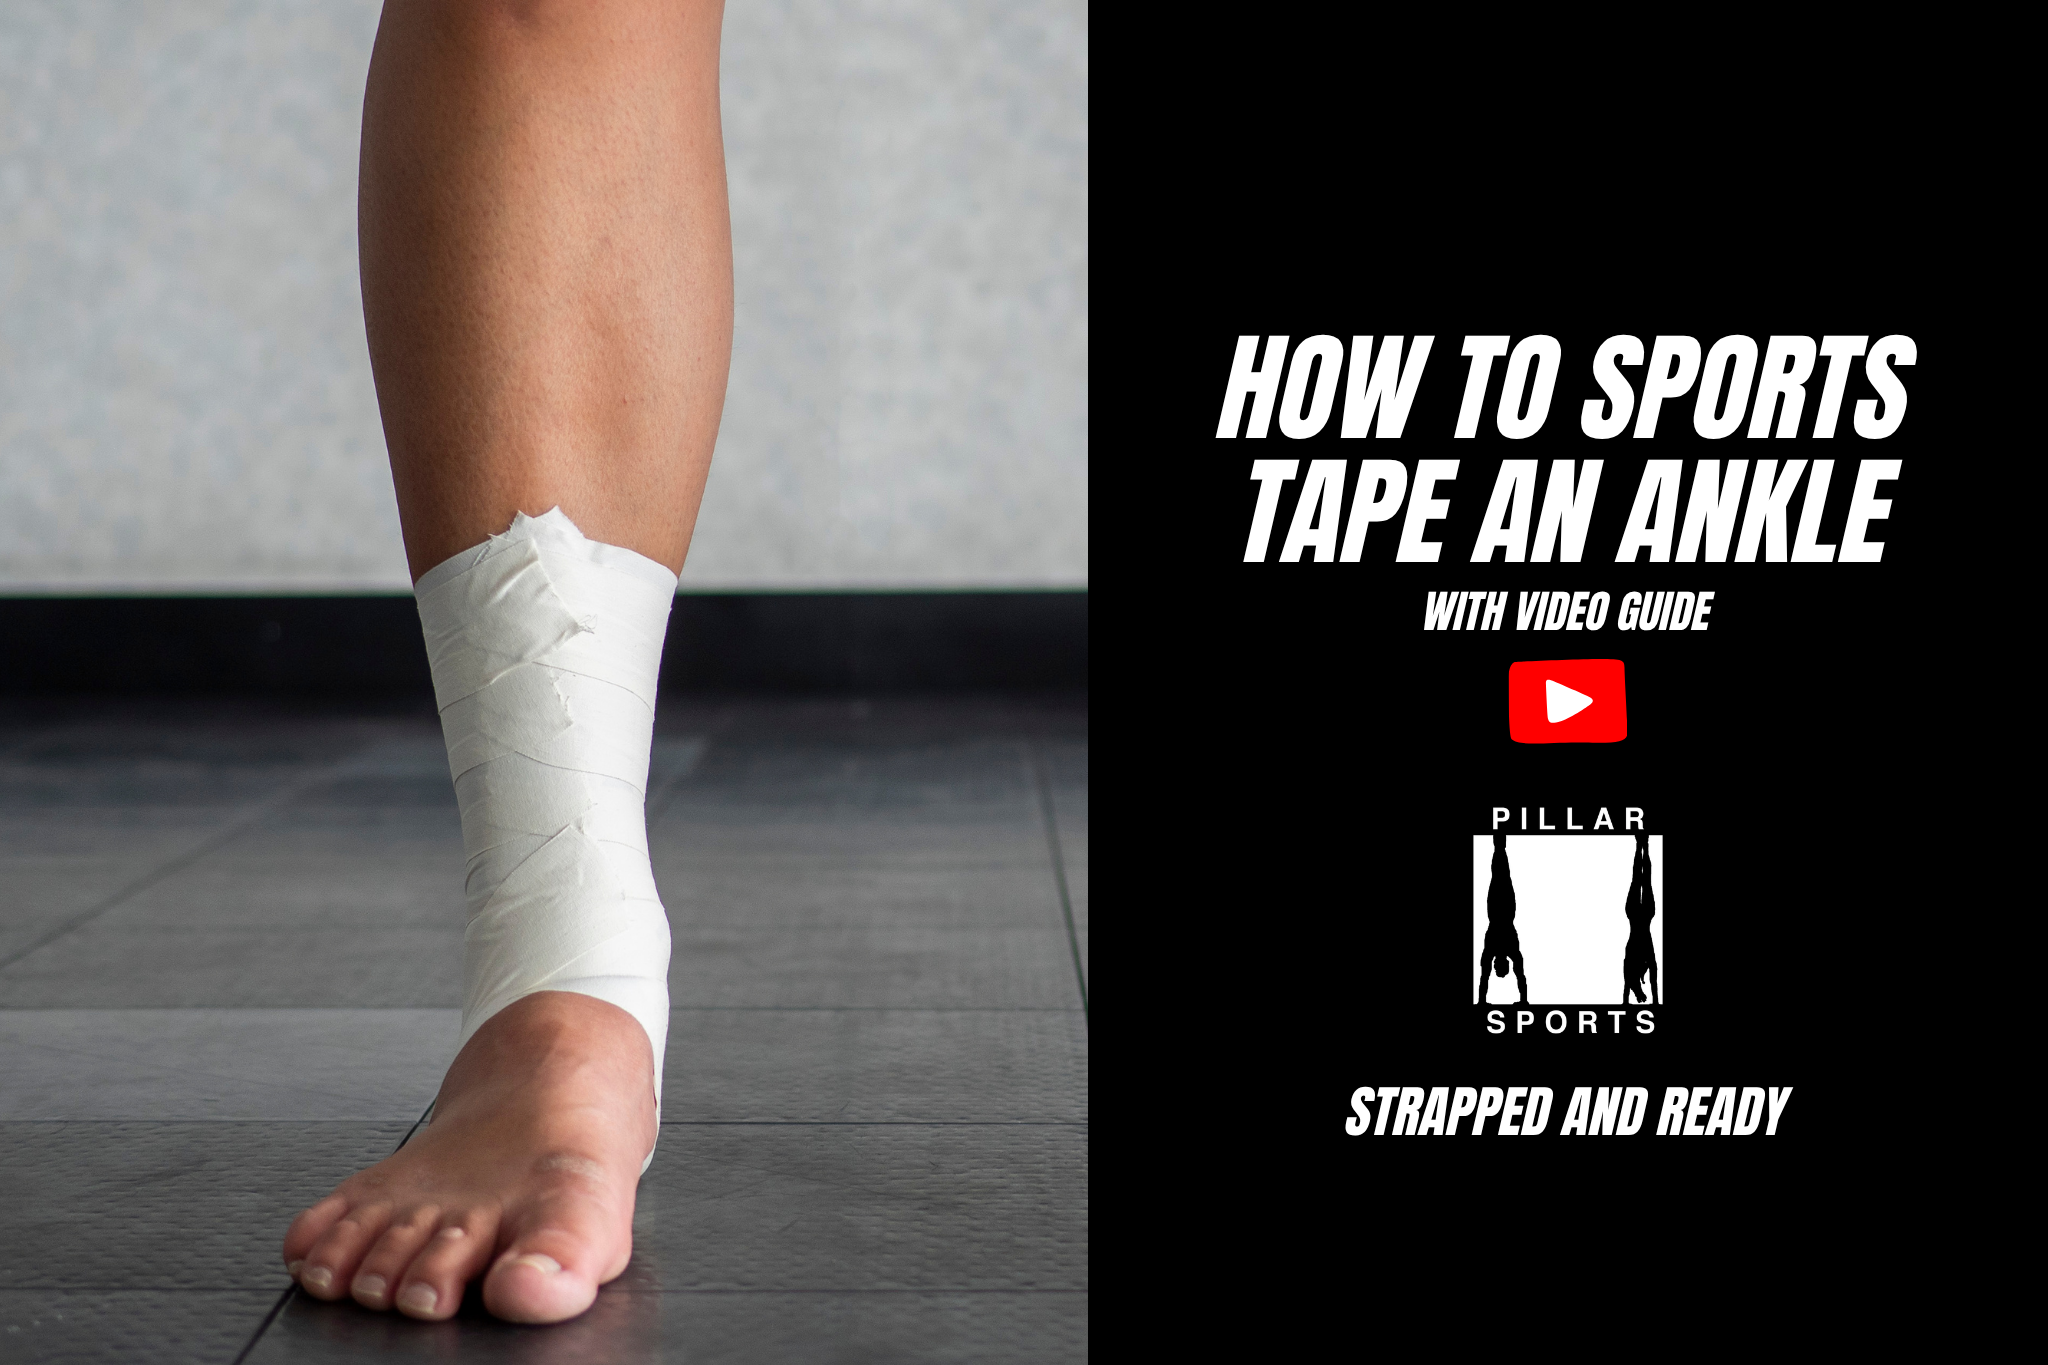
How to Wrap Ankle With Sports Tape: Easy Steps for Maximum Support
If you’ve ever twisted or strained your ankle during sports or exercise, you know how painful and frustrating it can be. Wrapping your ankle with sports tape can provide the support you need to reduce pain and speed up recovery.
But if you’re unsure how to do it correctly, you might not get the protection you’re hoping for. This guide will show you step-by-step how to wrap your ankle with sports tape the right way—so you can get back to your activities faster and safer.
Keep reading, and you’ll learn simple techniques that anyone can follow, even if you’ve never wrapped an ankle before.

Credit: kinesiologysportstape.com
Benefits Of Ankle Taping
Ankle taping offers several benefits that help protect and support the ankle during physical activity. It stabilizes the joint, reducing the risk of injury. Taping also helps manage pain by limiting harmful movements. Athletes and active individuals use it to maintain confidence while moving.
Using sports tape on your ankle can speed up recovery after a sprain or strain. It keeps the ankle in a safe position, preventing further damage. The tape also improves balance by giving extra support to the muscles and ligaments around the ankle.
Improved Stability And Support
Sports tape keeps the ankle joint steady during movement. It limits excessive twisting or turning. This support reduces the chance of sprains and other injuries.
Pain Reduction
Taping helps control pain by restricting painful movements. It supports injured tissues while they heal. This allows for safer, more comfortable activity.
Faster Injury Recovery
Keeping the ankle stable with tape helps injured ligaments heal quicker. It prevents movements that could worsen the injury. This speeds up the recovery process.
Enhanced Confidence In Movement
Wearing ankle tape gives a feeling of security. This confidence encourages better performance in sports or exercise. Athletes feel safer making quick turns or jumps.
Improved Proprioception
Proprioception means sensing the position of the ankle. Taping increases this awareness by providing gentle pressure. This helps prevent future injuries by improving balance and control.
Materials Needed For Ankle Taping
Gathering the right materials is crucial before you start wrapping your ankle with sports tape. Having everything prepared makes the process smoother and ensures the tape sticks properly. Let’s look at what you need to have on hand.
Sports Tape
The most important item is the sports tape itself. Choose a tape designed specifically for athletic use, which is strong but flexible. Avoid regular adhesive tapes because they won’t provide the support or durability you need during physical activity.
Pre-wrap Or Underwrap
Pre-wrap is a thin foam layer placed on your skin before applying the tape. It protects your skin from irritation and makes tape removal easier. This is especially helpful if you have sensitive skin or will be taping often.
Scissors
A good pair of scissors is essential to cut the tape cleanly. Dull scissors can cause jagged edges, leading to tape peeling off faster. Keep your scissors nearby to adjust tape length quickly while wrapping.
Adhesive Spray (optional)
Some athletes use adhesive sprays to help tape stick better, especially if they sweat a lot. It enhances the tape’s grip on your skin but isn’t mandatory. Think about your activity level and skin type before deciding to use one.
Clean Skin And Dry Surface
Before taping, make sure your ankle skin is clean and completely dry. Oils, lotions, or sweat can prevent tape from adhering properly. Have a towel or wipe ready to prepare your skin before you begin.
Preparing The Ankle
Preparing the ankle is a key part of wrapping it with sports tape. This step helps the tape stick better and supports the ankle properly. Taking time to prepare the ankle reduces the risk of slipping or discomfort later.
Cleaning The Skin
Clean the skin around the ankle with mild soap and water. Dirt, oil, or sweat can stop the tape from sticking well. Use a towel to dry the area fully. Avoid using lotion or cream before taping. Clean, dry skin gives the best hold.
Positioning The Ankle
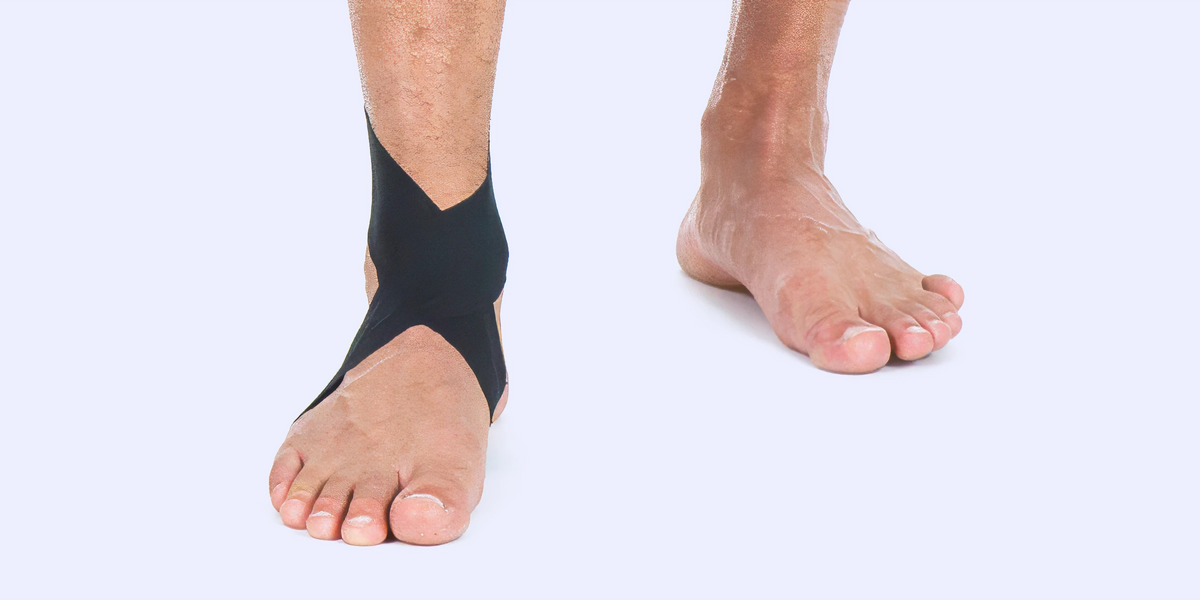
Place the ankle in a natural, slightly flexed position. The foot should point straight ahead with the toes up. This position helps the tape support the ankle without limiting movement too much. Keep the foot relaxed but ready for activity.
Credit: www.vivehealth.com
Applying Pre-wrap
Applying pre-wrap is a crucial step before using sports tape on your ankle. It acts as a protective layer, reducing irritation and making the taping process more comfortable. Taking time to apply pre-wrap correctly can save you from skin discomfort and improve the tape’s effectiveness.
Creating A Comfortable Base
Start by choosing a pre-wrap that fits your ankle size. Tear off a piece long enough to cover the entire area you want to tape. Gently wrap it around your ankle, overlapping slightly with each round to ensure full coverage without tightness.
Make sure the pre-wrap feels snug but not restrictive. If it’s too loose, the tape won’t hold well; too tight, and it may cut off circulation. Think about how your ankle feels during movement—does it stay comfortable? Adjust accordingly.
Avoiding Wrinkles
Wrinkles under the tape can cause blisters and discomfort. To prevent this, smooth out the pre-wrap as you go. Use your fingers to press down any folds or bubbles immediately after applying each layer.
Take your time; rushing this step often leads to uneven surfaces. Ask yourself—would you want to wear a bandage that feels bumpy all day? Keeping the base smooth helps the sports tape adhere better and last longer.
Techniques For Wrapping Ankle
Mastering the techniques for wrapping your ankle with sports tape can make a big difference in support and injury prevention. The right approach not only stabilizes the joint but also allows comfortable movement. Let’s break down key techniques that ensure your ankle stays secure during any activity.
Starting With Anchors
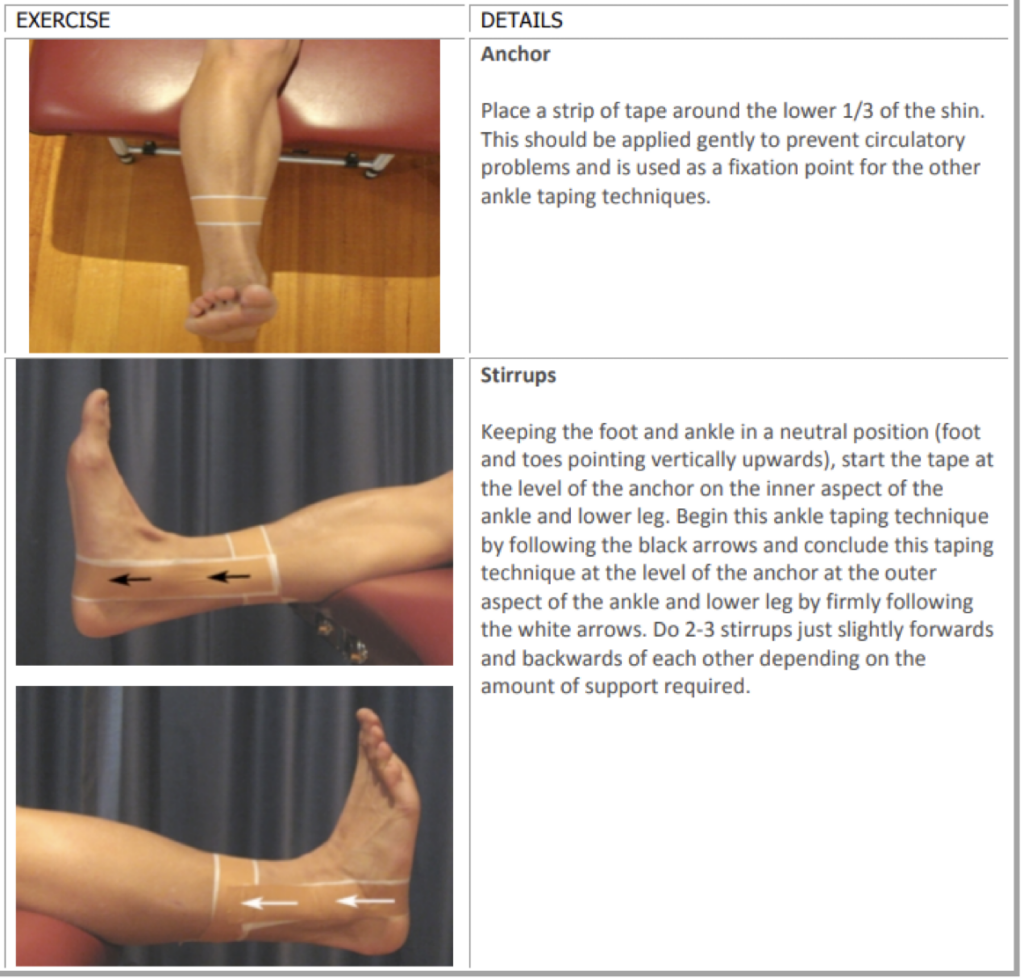
Begin by applying anchor strips around your lower leg and foot. These anchors serve as the foundation for the entire wrap, preventing the tape from slipping during movement.
Use firm but comfortable pressure when placing these strips, about 2-3 inches above the ankle bone and across the midfoot. This creates a stable base to build the rest of your wrap.
Using Stirrup Strips
Next, add stirrup strips that run from one side of the ankle, under the heel, to the other side. These strips limit side-to-side movement, which is often the cause of ankle sprains.
Make sure each stirrup strip overlaps the anchor and that you apply enough tension to support without cutting off circulation. Adjust tightness by testing how your foot moves after each strip.
Crossing Over The Arch
After the stirrups, tape across the arch of your foot in an X pattern. This helps hold the foot in a neutral position and supports the ligaments on both sides of the ankle.
Focus on smooth application to avoid wrinkles in the tape, which can cause discomfort or pressure points. You’ll find this step crucial for maintaining the tape’s effectiveness during extended wear.
Securing With Heel Locks
Finish with heel locks, wrapping tape around the back of the heel and locking it in place on both sides. Heel locks prevent the tape from loosening and add extra security to the ankle’s rear.
This technique is especially useful if you’ve had past injuries or plan on intense activity. Ask yourself: how much extra stability do you need for your sport or workout?
Adjusting For Comfort And Security
Adjusting the ankle wrap is key to ensure both comfort and security. A wrap too tight can cause pain or restrict blood flow. Too loose, and it won’t provide enough support. Small tweaks make a big difference in how the tape feels and functions.
Checking For Tightness
After applying the tape, check how tight it feels. Press your toes and look for color changes. If toes turn pale or feel numb, the wrap is too tight. Loosen the tape slightly to restore normal circulation. Make sure the tape holds the ankle firmly without causing discomfort.
Ensuring Mobility
Test your ankle’s movement gently. You should be able to flex and point your foot without pain. The tape must support but not block natural motion. Walk a few steps to feel the support level. Adjust the tape if it feels too stiff or too loose. Proper mobility prevents stiffness and helps during physical activity.
Tips For Effective Ankle Taping
Mastering ankle taping can make a big difference in both preventing injuries and supporting recovery. Effective taping isn’t just about wrapping the tape; it’s about choosing the right materials, perfecting your technique, and paying close attention to how your skin reacts. These tips will help you get the most out of your ankle taping routine, keeping your ankle safe and comfortable.
Choosing The Right Tape
Not all sports tapes are created equal. Look for tape that offers strong adhesion but remains breathable to avoid excessive sweating and skin irritation.
Some tapes come with a bit of stretch, while others are rigid. Consider your activity level—do you need support or just light compression? I once used a tape too stiff for my ankle’s movement, which actually made me feel more restricted and less stable.
Practicing Technique
How you apply tape matters as much as the tape itself. Take time to practice the wrapping technique on your own ankle before using it in a game or workout.
Start with clean, dry skin and anchor the tape securely. Avoid wrapping too tightly; you should feel supported, not cut off. A simple way to test this is by checking if your toes change color or feel numb after taping.
Have you tried layering tape for extra support? It can work well, but only if each layer is applied smoothly without wrinkles, which can cause discomfort or blisters.
Monitoring Skin Reaction
Your skin tells you a lot about how well the tape is working. Watch for redness, itching, or blistering—these signs mean you should remove the tape immediately.
Allergic reactions to adhesive are common. If you notice irritation, try using hypoallergenic tape or applying a protective barrier like pre-wrap foam.
Remember, your ankle will perform better when your skin feels good under the tape. How often do you check your skin during activity?
Common Mistakes To Avoid
Wrapping an ankle with sports tape can help prevent injuries and support healing. Yet, mistakes during taping can reduce its effectiveness or cause harm. Avoiding common errors ensures proper support and comfort. Focus on these key points to wrap your ankle correctly.
Over-tightening
Wrapping too tight cuts off blood flow. It causes numbness, tingling, or coldness in the foot. Tight tape also limits movement, making walking painful. Leave enough space for normal circulation. Check for swelling or color changes after taping.
Ignoring Skin Irritation
Sports tape can irritate sensitive skin. Redness, itching, or blisters may appear under the tape. Always clean and dry your skin before taping. Use hypoallergenic tape if you have sensitive skin. Remove the tape gently and stop if irritation occurs.
When To Seek Professional Help
Knowing when to seek professional help is crucial when dealing with an ankle injury, especially after wrapping it with sports tape. While taping can provide support and reduce pain, it’s not always enough. Understanding the signs that indicate you need expert care can save you from worsening the condition.
Persistent Pain
If your ankle pain doesn’t improve or worsens after taping, it’s a clear sign to consult a healthcare professional. Pain that lingers beyond a few days, or sharp pain during movement, may indicate a more serious injury like a fracture or ligament tear.
Ignoring persistent pain can lead to improper healing. Have you noticed your ankle hurting even when resting or when you apply pressure? Don’t wait for the pain to disrupt your daily activities before getting a proper diagnosis.
Chronic Instability
Do you feel your ankle giving way frequently, even after taping? Chronic instability is a warning signal that your ankle ligaments may be severely damaged or weakened. This condition increases the risk of repeated injuries and long-term joint problems.
A professional can assess the stability of your ankle and recommend treatments beyond taping, like physical therapy or braces. If you find yourself avoiding activities because you’re afraid of twisting your ankle again, it’s time to seek specialized care.
Credit: benchmarkphysio.com.au
Frequently Asked Questions
How Tight Should Sports Tape Be When Wrapping An Ankle?
Sports tape should be snug but not too tight. It must support the ankle without cutting off circulation. Check for numbness or color changes in toes after taping.
How Long Can You Keep Sports Tape On An Ankle?
You can keep sports tape on for 24 to 48 hours. Remove it sooner if discomfort or skin irritation occurs. Always clean and dry the skin before reapplying tape.
Can I Walk Or Exercise With A Taped Ankle?
Yes, taping supports the ankle during light exercise and walking. Avoid high-impact activities until fully healed. Taping helps prevent further injury by stabilizing the joint.
What Type Of Sports Tape Is Best For Ankle Wrapping?
Choose rigid or semi-rigid athletic tape for strong ankle support. Elastic tape is less supportive but allows more movement. Use hypoallergenic tape to avoid skin irritation.
Conclusion
Wrapping your ankle with sports tape helps support and protect it. Follow the steps carefully to avoid mistakes. Use firm but gentle pressure to keep the tape snug. Check comfort often to prevent cuts or tightness. Practice makes wrapping easier and more effective over time.
Remember, a well-wrapped ankle can reduce pain and swelling. Stay active safely by keeping your ankle secure. Simple care goes a long way in healing and prevention. Keep your tape ready for every workout or game.